In order to access the Tables management tool, press the Manage tables button in the Manage group of the Tables tab. A new browser tab will be created with Engage Process Admin Center tool opened on the Tables tab. If you miss this button, then this means that you are not in the Tables manager role. Ask your user manager to change this.

Global tables are defined in three steps. First, a global type is defined. There are two predefined global types: Roles and Documents that correspond to the project's standard local types Roles and Documents. For each global type a set of global tables can be defined. Finally, for each table a set of its items is defined.
Use the Search button in the upper right corner to find a text in all global tables. Press a small black triangle to the right-hand side of the Name to change the order of names.
How can I remove a table?
In order to remove a global table from a project select the table and press the Remove Table button in the Usage group of the Tables tab or the Delete button in the Actions group of the Home tab (or right mouse click the table and select Delete).
Removing a global table from a project removes all references to all items of this table. So, if the items of the removed table were used in your project, then a question appears:

You can also delete the whole global custom type folder. Then, all global tables in it will be removed from the project as well.
If you delete the last table from the global custom type the global type folder will stay. You can still add local items there.
Can I move items from one table into another?
You can freely move items between tables
In order to split or merge two tables of the same type or just to change the table an item belongs to you can use the move items functionality.
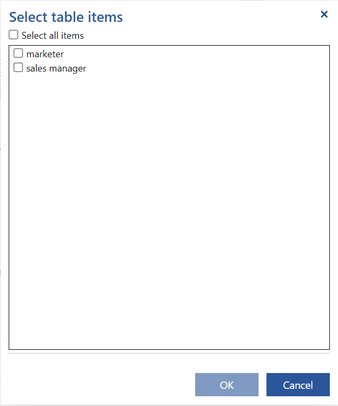
Select the source table containing the items you want to move to another table and press the Move items button on the right hand side. The following dialog appears:

Check the source table items that you want to move. Check Select all items if you want to move them all. Press OK.
In the next dialog that appears select the name of the destination table and press OK.

The destination table will be automatically selected and you will see the moved items there.
