
Yes, these are called 'Overview diagrams' which are mainly used in the Engage Process Viewer to facilitate navigation between published processes, brainstorms and other overviews of the organization
An overview diagram consists of a set of shapes. Currently, only basic shapes are available (rectangle, triangle, ellipse, diamond and chevron). A shape can also contain a user provided picture. By creating shapes, and then resizing them, flip, rotate, fill with colors and assign texts the user is free to design any overview he/she wants.
Using Engage Process Modeler you can only prepare the presentation part of an overview (so, its look and feel). The design of the navigation part (so, what happens when a shape is clicked) can only be done in Engage Process Publisher. Using Engage Process Publisher can also update the presentation part of an overview submitted by the modeler as well as create his/her own overviews.
To create an overview diagram you have to add a new project element of the type Overview.
The new overview diagram will be opened. Initially, the diagram is empty. The set of step types in the Insert group of the Home tab will be replaced by the set of shape types that can be inserted into an overview diagram.

Notice, that all actions in the Analysis tab, all actions in the Layout tab except diagram font setting, and all actions in the Design tab except Snap to grid are disabled now because they refer to process diagrams only.
You work with the overview diagrams in the same way as you work with brainstorm diagrams.
Shapes:
A shape is a basic component of an overview diagram. It is just a colored rectangle, triangle, ellipse, diamond, chevron or hexagon with a text inside. It can be positioned in any place in the diagram. The user can edit the text inside the shape and change its graphical properties.
To create a new shape press one of the buttons in the Insert group of the Home tab.
Alternative:
| ► | Right mouse click on the diagram. Pop-up menu will appear. Select Insert and then a required shape. |
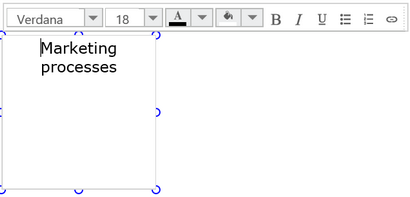
The new shape will be placed in the top left corner of the diagram or on top of the currently selected shape. It will be switched automatically to the edit mode. Thus, you can immediately start typing the text. In order to leave the edit mode it is enough to click somewhere outside the shape. In order to enter the edit mode again double click the shape. You can format parts of the shape text independently. Use the bar above the shape to choose for font family, size, style, color, background color and to decide on the style of a list. You can also insert a hyperlink there.
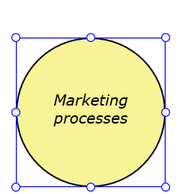
In order to move or to resize the shape click on it and then drag it to the desired place or move its border holding one of the small circles on the edge.
The shape has also graphical component properties. Unlike for brainstorm notes you can also align the text of the shape vertically (top or center).
You can Delete, Cut, Copy and Paste a shape using the corresponding buttons in the Actions group.
Alternative:
|
► |
Right mouse click a shape in the diagram. Pop-up menu will appear. Select Delete, Cut, Copy or Paste. |
| ► | Use the standard keyboard shortcuts. |
- Flip horizontally
- Flip vertically
- Rotate right
- Rotate left
- Bring to front
- Move to back
Just right mouse click a shape and select the corresponding item from the menu.
Go to the design mode to better adjust the positions of the shapes.
Images:
A special type of an overview shape is an image.
An image is a rectangle shape filled with a picture. To create an image shape press the Image button in the Insert group. The following dialog will appear:
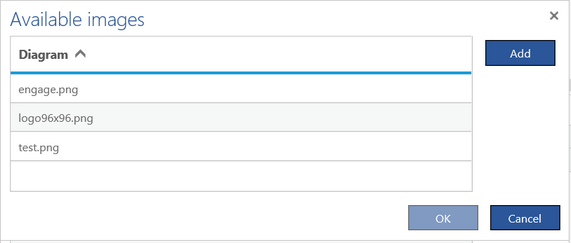
The list of images is the common list of images added by all users of the organization. If you miss an image you can add one and it will be available for all other users. Press the Add button and upload one of your png, jpg or jpeg files. (Notice that you cannot remove an image from this list).
Then, select the image for the shape and press OK.
Initially, an image is put into a square shape. You can then resize it and move it. If you want the shape to show the original image with its proper aspect ratio select the shape and press the Lock aspect ratio button in the Properties pane. Use the Change image button from there to change the image of the shape.
You can type a text on top of the image. Just double click the image shape and start typing.